# 简介
> 开始使用 OpenCode。
- 网址:https://funcoding.ai/agents/opencode/overview/
- 来源:OpenCode 官方文档原文(中文),MIT 许可,同步于 2026-10-11
- 官方原文:https://opencode.ai/docs/zh-cn/
---
[**OpenCode**](https://funcoding.ai/agents/opencode/overview/) 是一个开源的 AI 编码代理。它提供终端界面、桌面应用和 IDE 扩展等多种使用方式。
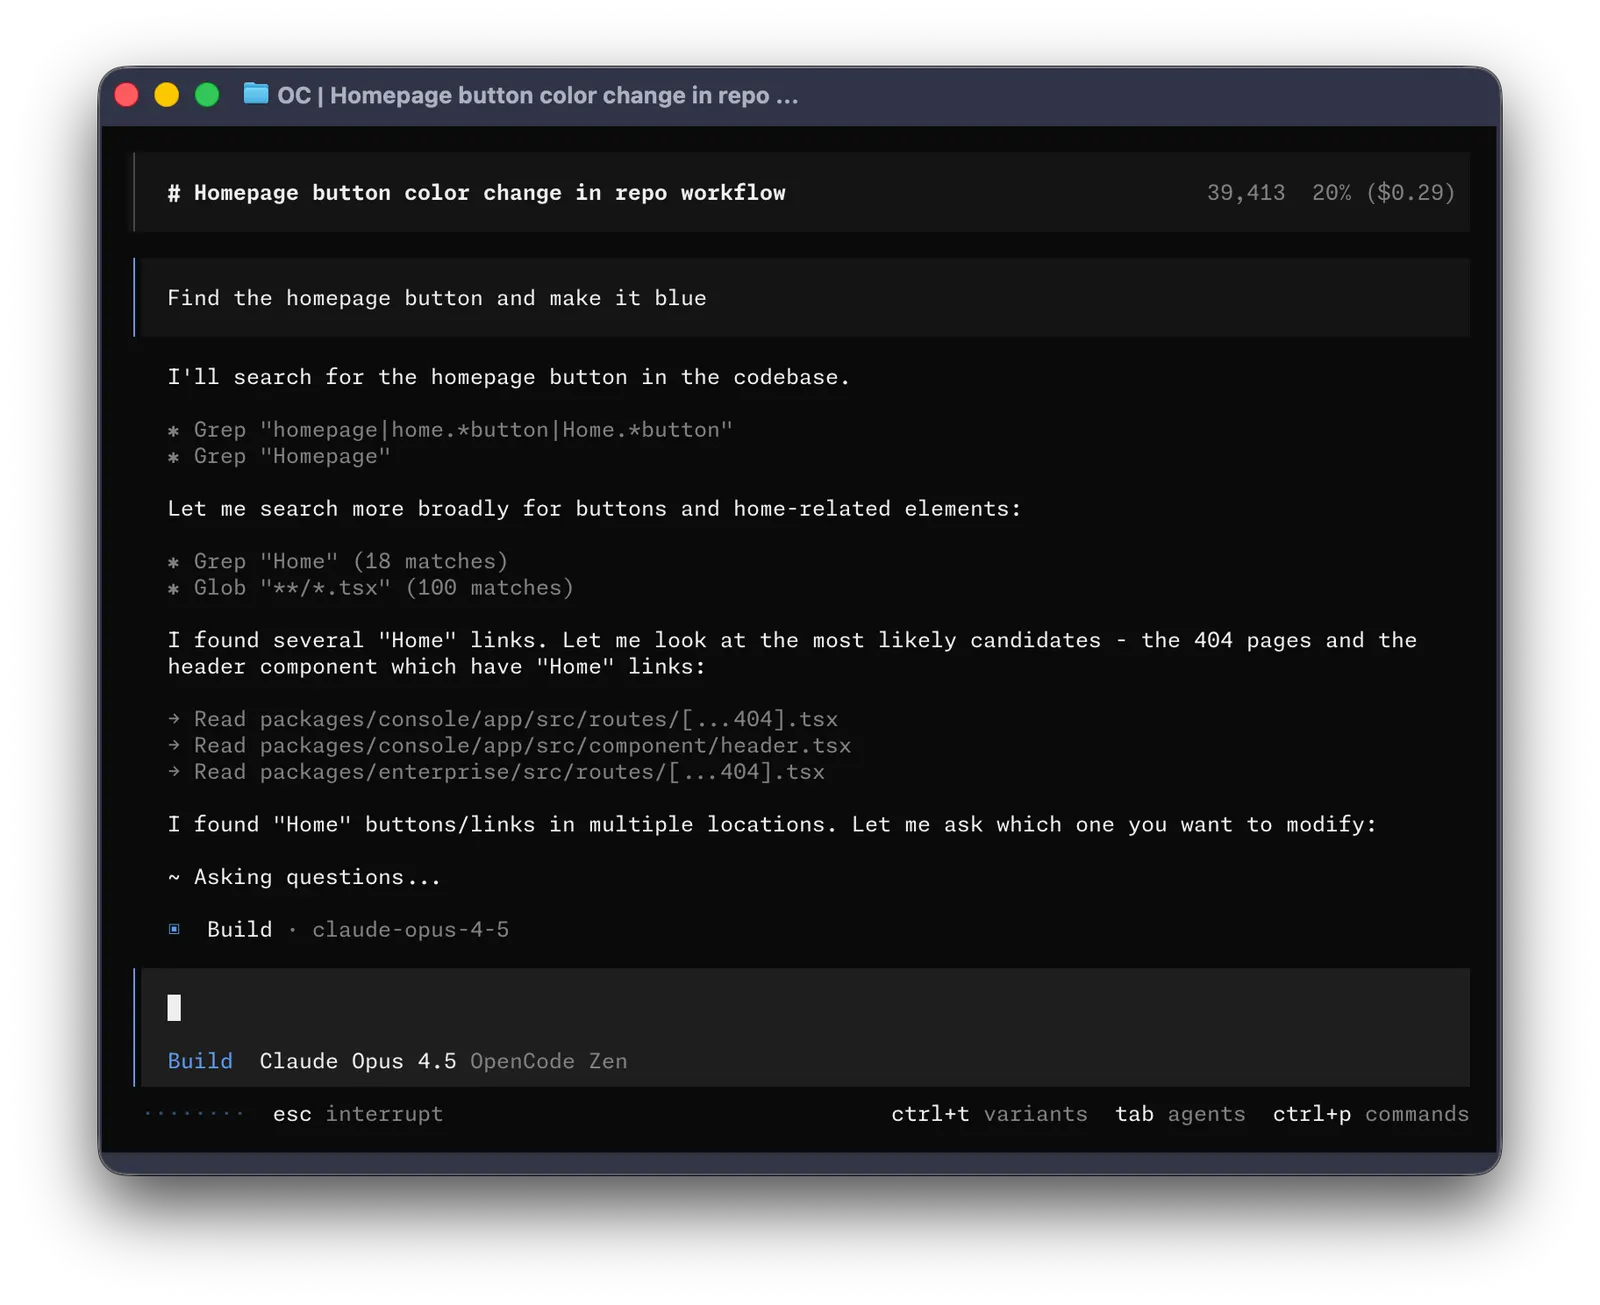
让我们开始吧。
---
#### 前提条件
要在终端中使用 OpenCode,你需要:
1. 一款现代终端模拟器,例如:
- [WezTerm](https://wezterm.org),跨平台
- [Alacritty](https://alacritty.org),跨平台
- [Ghostty](https://ghostty.org),Linux 和 macOS
- [Kitty](https://sw.kovidgoyal.net/kitty/),Linux 和 macOS
2. 你想使用的 LLM 提供商的 API 密钥。
---
## 安装
安装 OpenCode 最简单的方法是通过安装脚本。
```bash
curl -fsSL https://opencode.ai/install | bash
```
你也可以使用以下方式安装:
- **使用 Node.js**
**npm**
```bash
npm install -g opencode-ai
```
**Bun**
```bash
bun install -g opencode-ai
```
**pnpm**
```bash
pnpm install -g opencode-ai
```
**Yarn**
```bash
yarn global add opencode-ai
```
- **在 macOS 和 Linux 上使用 Homebrew**
```bash
brew install anomalyco/tap/opencode
```
> 我们推荐使用 OpenCode tap 以获取最新版本。官方的 `brew install opencode` formula 由 Homebrew 团队维护,更新频率较低。
- **在 Arch Linux 上安装**
```bash
sudo pacman -S opencode # Arch Linux (Stable)
paru -S opencode-bin # Arch Linux (Latest from AUR)
```
#### Windows
**推荐:使用 WSL**
为了在 Windows 上获得最佳体验,我们推荐使用 [Windows Subsystem for Linux (WSL)](https://funcoding.ai/agents/opencode/windows-wsl/)。它提供更好的性能,并完全兼容 OpenCode 的所有功能。
- **使用 Chocolatey**
```bash
choco install opencode
```
- **使用 Scoop**
```bash
scoop install opencode
```
- **使用 NPM**
```bash
npm install -g opencode-ai
```
- **使用 Mise**
```bash
mise use -g github:anomalyco/opencode
```
- **使用 Docker**
```bash
docker run -it --rm ghcr.io/anomalyco/opencode
```
在 Windows 上通过 Bun 安装 OpenCode 的支持目前正在开发中。
你也可以从 [Releases](https://github.com/anomalyco/opencode/releases) 页面直接下载二进制文件。
---
## 配置
通过 OpenCode,你可以配置 API 密钥来使用任意 LLM 提供商。
如果你刚开始接触 LLM 提供商,我们推荐使用 [OpenCode Zen](https://funcoding.ai/agents/opencode/zen/)。这是一组经过 OpenCode 团队测试和验证的精选模型。
1. 在 TUI 中运行 `/connect` 命令,选择 opencode,然后前往 [opencode.ai/auth](https://opencode.ai/auth)。
```txt
/connect
```
2. 登录并添加账单信息,然后复制你的 API 密钥。
3. 粘贴你的 API 密钥。
```txt
┌ API key
│
│
└ enter
```
你也可以选择其他提供商。[了解更多](https://funcoding.ai/agents/opencode/providers/#directory)。
---
## 初始化
配置好提供商后,导航到你想要处理的项目目录。
```bash
cd /path/to/project
```
然后运行 OpenCode。
```bash
opencode
```
接下来,运行以下命令为项目初始化 OpenCode。
```bash frame="none"
/init
```
OpenCode 会分析你的项目并在项目根目录创建一个 `AGENTS.md` 文件。
你应该将项目的 `AGENTS.md` 文件提交到 Git。
这有助于 OpenCode 理解项目结构和编码规范。
---
## 使用
现在你已经准备好使用 OpenCode 来处理项目了,尽管提问吧!
如果你是第一次使用 AI 编码代理,以下示例可能会对你有所帮助。
---
### 提问
你可以让 OpenCode 为你讲解代码库。
使用 `@` 键可以模糊搜索项目中的文件。
```txt frame="none" "@packages/functions/src/api/index.ts"
How is authentication handled in @packages/functions/src/api/index.ts
```
当你遇到不熟悉的代码时,这个功能非常有用。
---
### 添加功能
你可以让 OpenCode 为项目添加新功能。不过我们建议先让它制定一个计划。
1. **制定计划**
OpenCode 有一个*计划模式*,该模式下它不会进行任何修改,而是建议*如何*实现该功能。
使用 **Tab** 键切换到计划模式。你会在右下角看到模式指示器。
```bash frame="none" title="Switch to Plan mode"
```
接下来描述你希望它做什么。
```txt frame="none"
When a user deletes a note, we'd like to flag it as deleted in the database.
Then create a screen that shows all the recently deleted notes.
From this screen, the user can undelete a note or permanently delete it.
```
你需要提供足够的细节,让 OpenCode 理解你的需求。可以把它当作团队中的一名初级开发者来沟通。
为 OpenCode 提供充足的上下文和示例,帮助它理解你的需求。
2. **迭代计划**
当它给出计划后,你可以提供反馈或补充更多细节。
```txt frame="none"
We'd like to design this new screen using a design I've used before.
[Image #1] Take a look at this image and use it as a reference.
```
将图片拖放到终端中即可将其添加到提示词中。
OpenCode 可以扫描你提供的图片并将其添加到提示词中。只需将图片拖放到终端窗口即可。
3. **构建功能**
当你对计划满意后,再次按 **Tab** 键切换回*构建模式*。
```bash frame="none"
```
然后让它开始实施。
```bash frame="none"
Sounds good! Go ahead and make the changes.
```
---
### 直接修改
对于比较简单的修改,你可以直接让 OpenCode 实施,无需先审查计划。
```txt frame="none" "@packages/functions/src/settings.ts" "@packages/functions/src/notes.ts"
We need to add authentication to the /settings route. Take a look at how this is
handled in the /notes route in @packages/functions/src/notes.ts and implement
the same logic in @packages/functions/src/settings.ts
```
请确保提供足够的细节,以便 OpenCode 做出正确的修改。
---
### 撤销修改
假设你让 OpenCode 做了一些修改。
```txt frame="none" "@packages/functions/src/api/index.ts"
Can you refactor the function in @packages/functions/src/api/index.ts?
```
但你发现结果不是你想要的。你**可以使用** `/undo` 命令来撤销修改。
```bash frame="none"
/undo
```
OpenCode 会还原所做的修改,并重新显示你之前的消息。
```txt frame="none" "@packages/functions/src/api/index.ts"
Can you refactor the function in @packages/functions/src/api/index.ts?
```
你可以调整提示词,让 OpenCode 重新尝试。
你可以多次运行 `/undo` 来撤销多次修改。
你也**可以使用** `/redo` 命令来重做修改。
```bash frame="none"
/redo
```
---
## 分享
你与 OpenCode 的对话可以[与团队分享](https://funcoding.ai/agents/opencode/share/)。
```bash frame="none"
/share
```
这会生成当前对话的链接并复制到剪贴板。
对话默认不会被分享。
这是一个与 OpenCode 的[示例对话](https://opencode.ai/s/4XP1fce5)。
---
## 个性化
以上就是全部内容!你现在已经是 OpenCode 的使用高手了。
要让它更符合你的习惯,我们推荐[选择一个主题](https://funcoding.ai/agents/opencode/themes/)、[自定义快捷键](https://funcoding.ai/agents/opencode/keybinds/)、[配置代码格式化工具](https://funcoding.ai/agents/opencode/formatters/)、[创建自定义命令](https://funcoding.ai/agents/opencode/commands/),或者探索 [OpenCode 配置](https://funcoding.ai/agents/opencode/config/)。