Kick off a task with Copilot agents on GitHub
Decide whether Copilot cloud agent creates a pull request immediately or works on a branch you review and iterate on first.
You can start a Copilot cloud agent task in several ways. Assigning an issue always creates a pull request. Starting with a prompt works on a branch by default, giving you a chance to review, steer, and iterate before you open a pull request. Seeding a repository creates a draft pull request with scaffolded code.
Assign an issue to Copilot
Assigning an issue always creates a pull request. Copilot works on the task and requests your review when it finishes.
-
In the right sidebar of the issue, click Assignees.
-
Click Copilot from the assignees list.
-
Optionally, add context in the Optional prompt field—for example, coding patterns, files to modify, or testing requirements.
-
Optionally, change the target repository or base branch using the dropdown menus.
-
Optionally, you can click copilot to open the agent dropdown menu, if you want to assign an agent or a custom agent with specialized behavior and tools. You can select an existing custom agent from your repository, organization, or enterprise. You can also click Plus button Create an agent to create a new agent profile in your selected repository and branch. For more information, see AUTOTITLE.
Third-party coding agents are available for all paid Copilot plans.
- Optionally, you can use the dropdown menu to select the model that Copilot will use. If the selected model supports configurable reasoning, you can also use the dropdown menu to select the reasoning level. For more information, see AUTOTITLE.
Copilot receives the issue title, description, and existing comments at assignment time. It does not see comments added after assignment, so post follow-up information on the pull request instead.
Start a task with a prompt
Cloud agent works on a branch by default. You can review the diff, iterate with follow-up prompts, and create a pull request when you're ready.
-
Open the agents panel or tab:
- Open the The Agents icon Agents tab in a repository.
- Navigate to the agents page: Go to github.com/copilot/agents. You can also get here by opening the agents panel, then clicking View all.
- Open the agents panel: Click The Agents icon in the navigation bar at the top right of GitHub.
-
Using the dropdown menu in the prompt field, select the repository you want Copilot to work in.
-
Type a prompt describing your request. You can also add visual inputs like screenshots or UI mockups by pasting, dragging, or uploading an image. Files supported: image/png, image/jpeg, image/gif, image/webp.
For example,
Implement a user friendly message for common errors.If you want Copilot to open a pull request, you can ask in your prompt, for example
Open a pull request to implement a user friendly message for common errors. -
Optionally, select a base branch for Copilot's changes. Copilot will create a new branch based on this branch.
-
Optionally, you can click copilot to open the agent dropdown menu, if you want to assign an agent or a custom agent with specialized behavior and tools. You can select an existing custom agent from your repository, organization, or enterprise. You can also click Plus button Create an agent to create a new agent profile in your selected repository and branch. For more information, see AUTOTITLE.
Third-party coding agents are available for all paid Copilot plans.
-
Optionally, you can use the dropdown menu to select the model that Copilot will use. If the selected model supports configurable reasoning, you can also use the dropdown menu to select the reasoning level. For more information, see AUTOTITLE.
-
Click Start task or press Enter.
Copilot will start a new session, which will appear in the list below the prompt box. Copilot will work on the task and push any code changes.
You can track Copilot's work and open a pull request in one click from the session logs. For more information, see AUTOTITLE.
The same prompt box is available on your dashboard and in Copilot Chat (type /task).
For the full workflow of researching, planning, and iterating before creating a pull request, see AUTOTITLE.
Seed a new repository
When you create a new repository, you can have Copilot generate starter code.
-
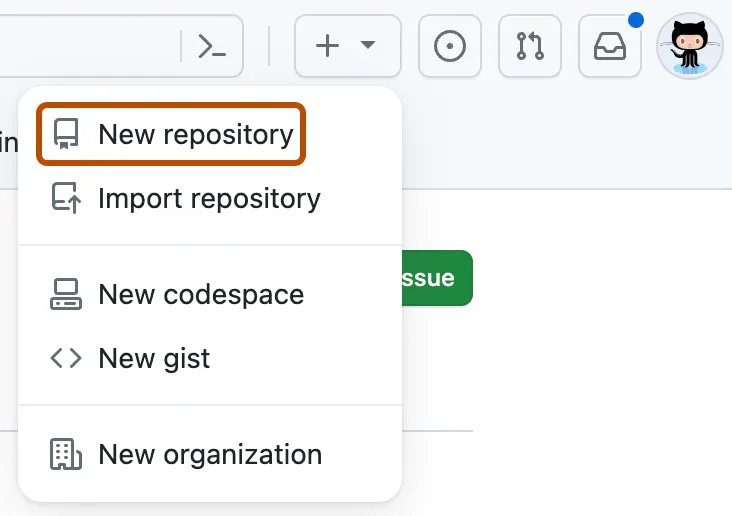
In the upper-right corner of any page, select Create something new, then click New repository.
-
In the Prompt field, describe what you want Copilot to build — for example,
Create a Rust CLI for converting CSV spreadsheets to Markdown. -
Click Create repository.
Copilot opens a draft pull request with the scaffolded code.